Building the QRPGuys code trainer was a quick and easy project. I enjoy their products because of the high quality.
This device will send characters in groups of 5 at a speed setting of your choice. The use of a paddle or key is available to practice your sending skills. In the winter months I learn new things. For instance, learning Morse Code.
QRPGuys code trainer
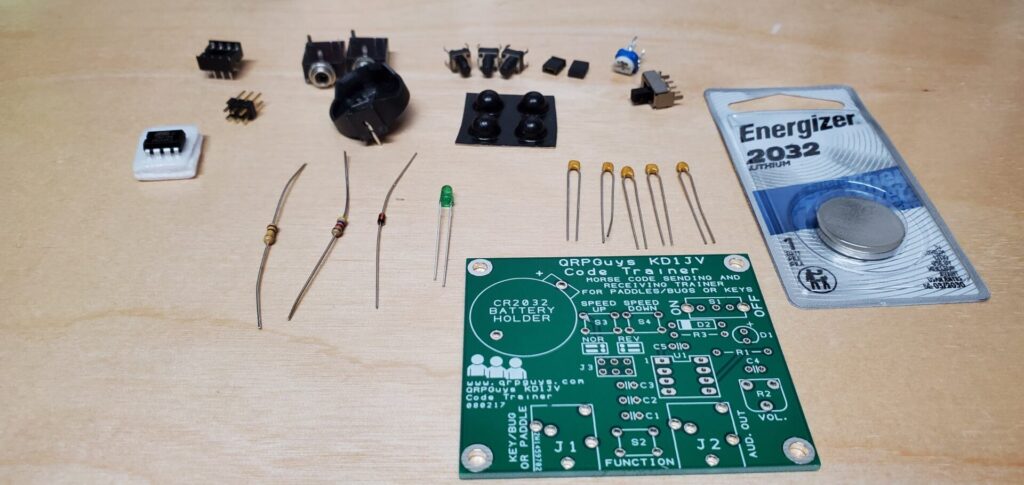
Everything pictured is part of the kit, except the user supplied 2032 coin battery. This particular kit has a handful of small parts, however it is easy to build and took about 30 minutes to complete.
Starting with the smallest components first, I soldered the five .1uF mono capacitors to the board. I used a magnifying glass to carefully inspect my work.
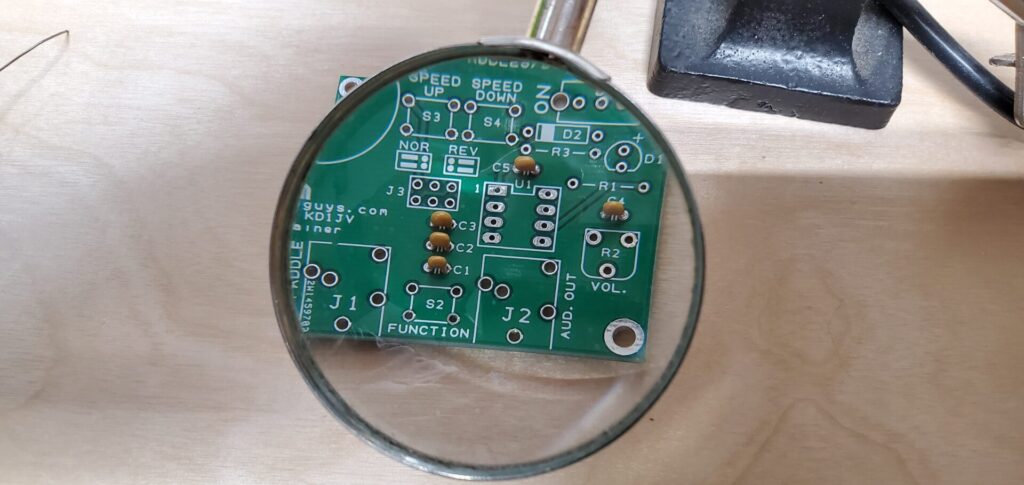
The components are small and my aging eyes are not what they used to be. My soldering skills met my approval.
Satisfied with the capacitors, I installed the diode. To ensure proper orientation of the diode, the PCB is marked accordingly. I carefully bent the wires and pulled them through the holes in the printed circuit board. I soldered it into place once I was happy with the fitment. There are two resistors, each marked with color bands. Care must be taken to get the them in the correct location, but orientation doesn’t matter.
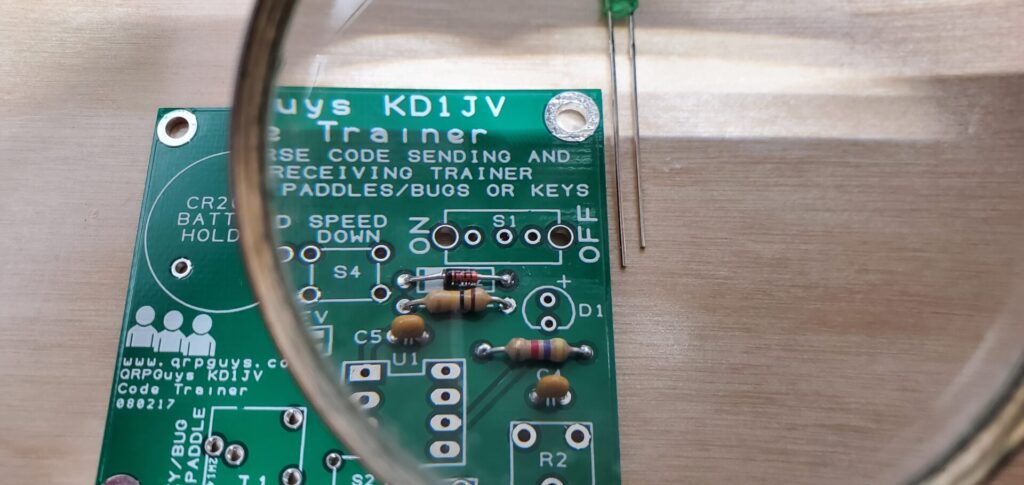
The LED light requires special attention. The positive lead is the longest one. To ensure proper orientation of the LED light, the PCB is marked accordingly. The LED goes in the D1 location. You may omit the light to extend battery life. I chose to install it since it was part of the kit.
Moving onto the larger components
Next, install the trim pot and audio jacks.. Following are the push buttons, header pins and finally the coin battery holder.
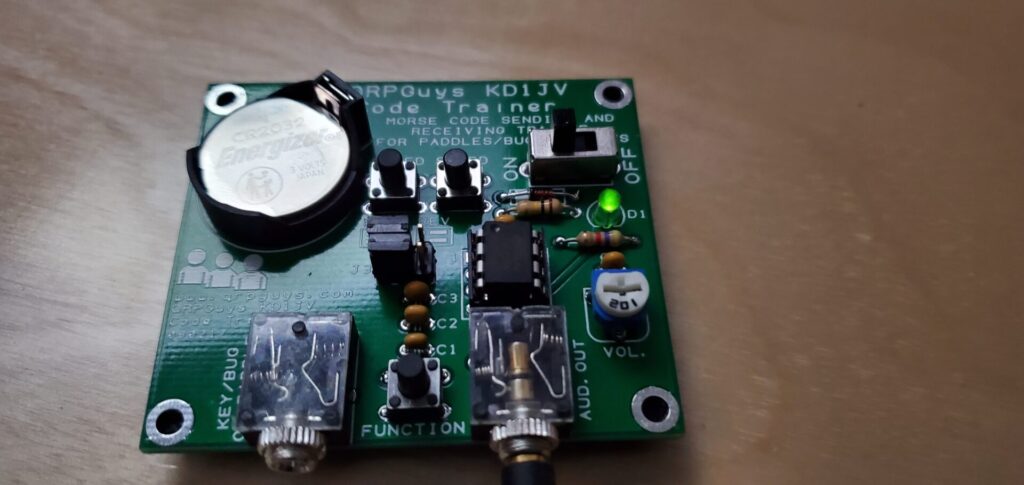
A pointed pencil tip on the soldering iron would have been perfect for this project, however I did not have one. In conclusion, I thoroughly enjoyed building the QRPGuys code trainer.


